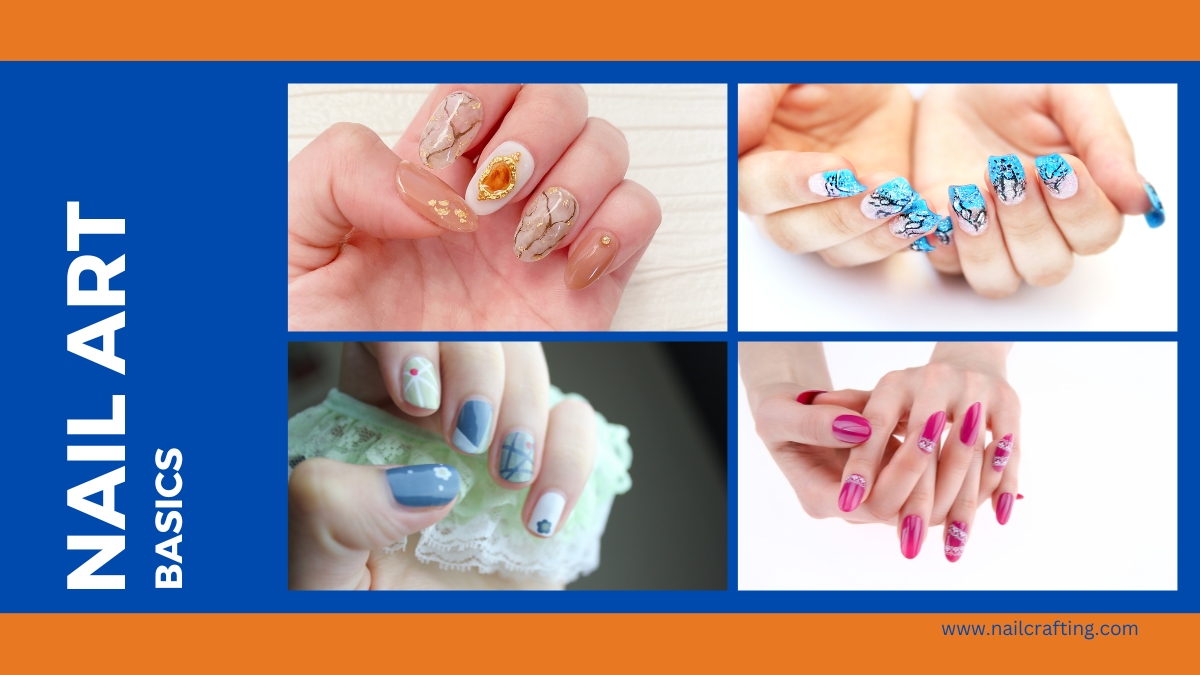
Are you a beginner in the world of nail art? Do you want to learn how to create beautiful designs on your nails but don’t know where to start? Look no further! In this article, we will guide you step-by-step on how to master the basics of nail art.
Nail art is a fun and creative way to express yourself and boost your confidence. With just a few tools and practice, you can create stunning designs to make your nails stand out. Starting something new can be intimidating, but we assure you you will be a nail art pro with our guide in no time.
We will cover everything from the basic tools you need to get started to simple designs perfect for beginners. We want to empower you to experiment with different colors, patterns, and textures to create unique and beautiful nail art that reflects your personality. So, let’s start on this exciting journey of mastering the basics of nail art!
Table of contents
Understanding Basics Of Nail Art
What is Nail Art
Nail art is a form of self-expression that involves decorating and embellishing nails with various designs, patterns, and colors. It has become increasingly popular as people of all ages and genders use it to express their individuality and creativity. Nail art can range from simple designs like stripes and dots to more complex designs like 3D art and intricate patterns. It can be done on natural or artificial nails like acrylics and gels.
Importance of Nail Art
Nail art is more than just a fun and creative hobby. It can also be a form of self-care and self-expression. Taking the time to do your nails and create a unique design can be a relaxing and therapeutic activity. It can also boost your confidence and make you feel good about yourself. Nail art is a great way to show off your personality and style, and it can be a conversation starter or a way to connect with others who share your interests.
For beginners, nail art can be a bit intimidating. But with the right tools, techniques, and practice, anyone can master the basics of nail art. The following sections will discuss essential nail art elements that every beginner should know.
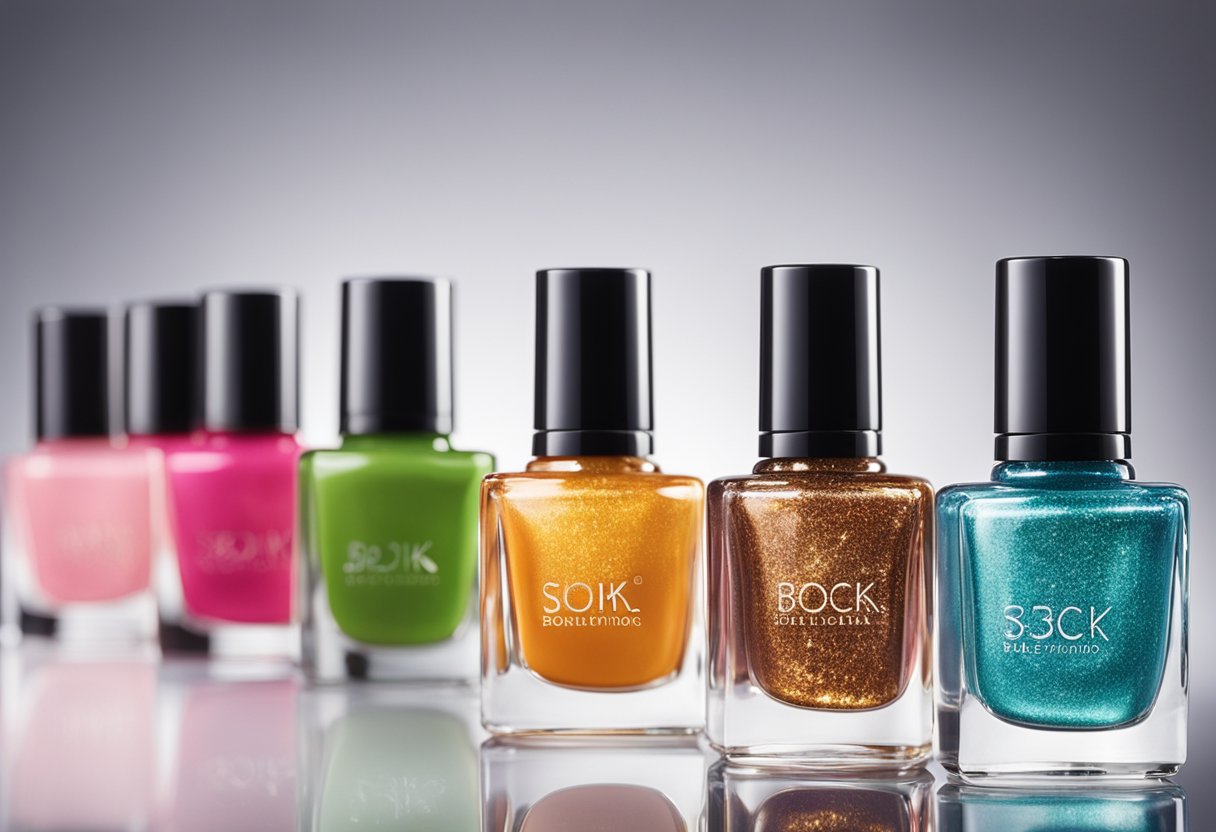
Tools and Products for Nail Art
When it comes to nail art, having the right tools and products is essential for achieving the perfect look. Here are some of the must-have items for any beginner:
Nail Polish Remover
Before starting any nail art design, removing any existing nail polish is essential. We recommend using a cotton ball or pad soaked in nail polish remover to ensure the nail bed is clean and free of polish residue.
Nail Clippers and File
You’ll need a good pair of nail clippers or scissors to get your nails’ desired length and shape. Once you’ve clipped your nails, use a nail file to smooth and shape the edges.
Cuticle Pusher
A cuticle pusher is handy for gently pushing back the cuticles to create a clean, polished look. Use it gently to avoid damaging the delicate skin around your nails.
Nail Art Brushes
Various nail art brushes are available, each with its unique purpose. A liner brush is great for drawing fine lines and intricate details, while a flat brush is ideal for working on large, smooth areas of your nails. An angled brush with a diagonal tip can help you create diagonal lines and triangles.
Dotting Tool
A dotting tool is an essential tool for creating basic dotting techniques. You can use it to create polka dots, flowers, and other fun designs.
Tweezers
Tweezers can come in handy when applying small embellishments like rhinestones or studs. They can also be used to apply nail tape or striping tape for straight lines and clean edges.
UV Lamp
If you’re using gel nail polish, you’ll need a UV lamp to cure it and ensure it stays in place. Follow the manufacturer’s instructions carefully to avoid damaging your nails.
Overall, having the right tools and products is key to mastering the basics of nail art. You can create beautiful designs that will impress you with practice and patience.
Preparing Your Nails
Before diving into nail art, preparing your nails to look their best is essential. Here are some basic steps to follow:
Remove Old Nail Polish
First, remove old nail polish using a cotton pad or ball and nail polish remover. Ensure you get all the polish off, especially around the edges of the nails.
File and Shape
Next, use a nail file to shape your nails. Start with a coarse-grit file and work up to a fine-grit file for a smooth finish—file in one direction to prevent splitting and peeling.
Buff Nails
Buffing your nails can help smooth ridges and give them a healthy shine. Use a buffer block and work gently in a back-and-forth motion. Avoid buffing too much, as this can weaken your nails.
Push Back Cuticles
Use a cuticle pusher to push back your cuticles gently. This will give your nails a clean, polished look. Be careful not to cut your cuticles, which can lead to infection.
Apply Base Coat
Before applying any nail polish, it’s essential to use a base coat. This will help the polish adhere better and prevent staining. Apply a thin layer of base coat and let it dry completely before moving on to the next step.
Apply White Nail Polish (Optional)
To make your nail art designs stand out, consider applying a coat of white nail polish as a base. This will make the colors pop and give your nails a clean, bright background.
Apply Nail Polish
Finally, it’s time to apply your nail polish. Apply two thin coats of your chosen color, letting each coat dry completely before applying the next. Finish with a top coat to help protect your nails and give them a shiny finish.
By following these basic steps, you’ll be well on your way to mastering the basics of nail art. Remember to take your time and be patient; soon, you’ll be creating beautiful designs that you’ll be proud to show off.
Nail Art Techniques for Beginners
When mastering nail art techniques, beginners should start with the basics and work up to more complex designs. Here are some techniques to get you started:
Nail Art Technique: Dotting
Dotting is a simple technique that involves using a dotting tool or toothpick to create small dots on your nails. You can create different designs by varying the size and placement of the dots. For example, you can create a polka dot design using a dotting tool to create evenly spaced dots on your nails.
Nail Art Technique: Striping
Striping involves using a thin brush or striping tape to create lines on your nails. You can create different designs by varying the thickness and placement of the lines. For example, you can create a striped design using striping tape to create evenly spaced lines on your nails.
Nail Art Technique: Marbleizing
Marbleizing involves swirling different nail polish colors together to create a marbled effect. To marbleize your nails, drop a few different nail polish colors onto a plastic surface and swirl the colors together with a toothpick. Then, dip your nails into the mixture to create the marbled effect.
Nail Art Technique: Ombre Nail Art
Ombre nail art involves blending two or more nail polish colors to create a gradient effect. To create an ombre effect, paint your nails with a base color and then use a makeup sponge to dab a second color onto the tips of your nails. Blend the two colors using the sponge to create the gradient effect.
Nail Art Technique: Rainbow Nail Art
Rainbow nail art involves using multiple nail polish colors to create a rainbow effect on your nails. To create a rainbow design, paint your nails with a base color and then use a thin brush or toothpick to create rainbow stripes on your nails.
With these techniques, you can start getting creative with your nail art designs. Many step-by-step tutorials and training are available online to help you master these techniques and create more complex designs.
Choosing the Right Colors and Textures
Choosing the right colors and textures can make all the difference in nail art. Here are some tips to help you make the right choices:
Colors
The first step in choosing the right colors for your nail art is to consider your style and preferences. Are you more drawn to bold, bright colors or soft, muted shades? Do you prefer warm or cool tones? Once you understand your preferences, you can experiment with different color combinations.
One popular approach is to choose complementary colors. These colors are opposite on the color wheel, such as blue and orange or red and green. Another option is to choose analogous colors next to each other on the color wheel, such as blue and green or yellow and orange.
Textures
Texture is another important consideration when it comes to nail art. Adding texture can create visual interest and make your nails stand out. Various ways to add texture to your nails include glitter or small embellishments like rhinestones or studs.
Another way to add texture is to use different finishes. Matte topcoat, for example, can give your nails a velvety, non-shiny finish. A clear top coat, on the other hand, can add shine and depth to your nail art.
When choosing textures, it’s essential to consider the overall look you’re going for. You might opt for a matte finish or a simple glitter accent for a more subtle look. If you want something more eye-catching, you might choose a bold, textured design with many embellishments.
In summary, choosing the right colors and textures is essential in creating beautiful nail art. By considering your style, experimenting with different color combinations, and adding texture creatively, you can create a look that’s uniquely yours.
Adding Details and Embellishments
Adding details and embellishments is a great way to take nail art to the next level. Whether you want to add a sparkle or create a unique design, there are many ways to add details and embellishments to your nails.
One popular way to add details and embellishments is by using studs or rhinestones. These small decorations come in various shapes and sizes and can be easily applied to your nails using nail glue. You can create a simple design by adding a few studs or rhinestones to your nails, or you can create a more intricate design by using multiple colors and shapes.
Another way to add details and embellishments is by using an accent nail. An accent nail is a nail that is painted or designed differently from the other nails on your hand. This can be a great way to add a pop of color or a unique design to your nails. You can use a different color, pattern, or design on your accent nail to create a fun and unique look.
French tips are another popular way to add details and embellishments to your nails. French tips are a classic nail design that involves painting the tips of your nails white and leaving the rest of your nails natural or painted a different color. You can add your twist to this classic design by using different colors or adding a design to the tip of your nails.
If you are looking for a more permanent way to add details and embellishments to your nails, you may want to consider getting acrylic nails. Acrylic nails are a type of artificial nail that is applied to your natural nails using a special adhesive. Once applied, you can add details and embellishments to your acrylic nails using nail polish, studs, rhinestones, and other decorations.
Adding details and embellishments is a great way to take nail art to the next level. Whether you want to add a sparkle or create a unique design, there are many ways to add details and embellishments to your nails.
Maintaining Your Nail Art
Once you have created your stunning nail art, it’s essential to maintain it to keep it looking fresh and beautiful. Here are some tips to help you maintain your nail art:
Apply a Top Coat
Apply a top coat daily to keep your nail art fresh and glossy. A top coat will help protect your nail art from chipping and fading and add a layer of shine. We recommend using a high-quality top coat to ensure the best results.
Use Nail Polish Remover
When it’s time to remove your nail art, use a nail polish remover that is gentle on your nails, and avoid using harsh chemicals that can damage your nails and cuticles, we recommend using a non-acetone nail polish remover, which is less harsh and won’t dry out your nails.
Push Back Your Cuticles
To keep your nails looking neat and tidy, use a cuticle pusher to push back your cuticles gently. This will help create a clean and polished look and will also help prevent your nail art from chipping or peeling. Be sure to touch when pushing back your cuticles gently, and avoid pushing too hard or cutting them.
Following these simple tips, you can maintain your nail art and keep it looking beautiful for days. Remember always to use high-quality products and care for your nails to ensure the best results.
Creating Nail Art at Home
Creating nail art at home can be a fun and rewarding experience. With the right tools and techniques, anyone can create beautiful and unique designs on their fingernails. This section will guide you through the basics of creating nail art at home.
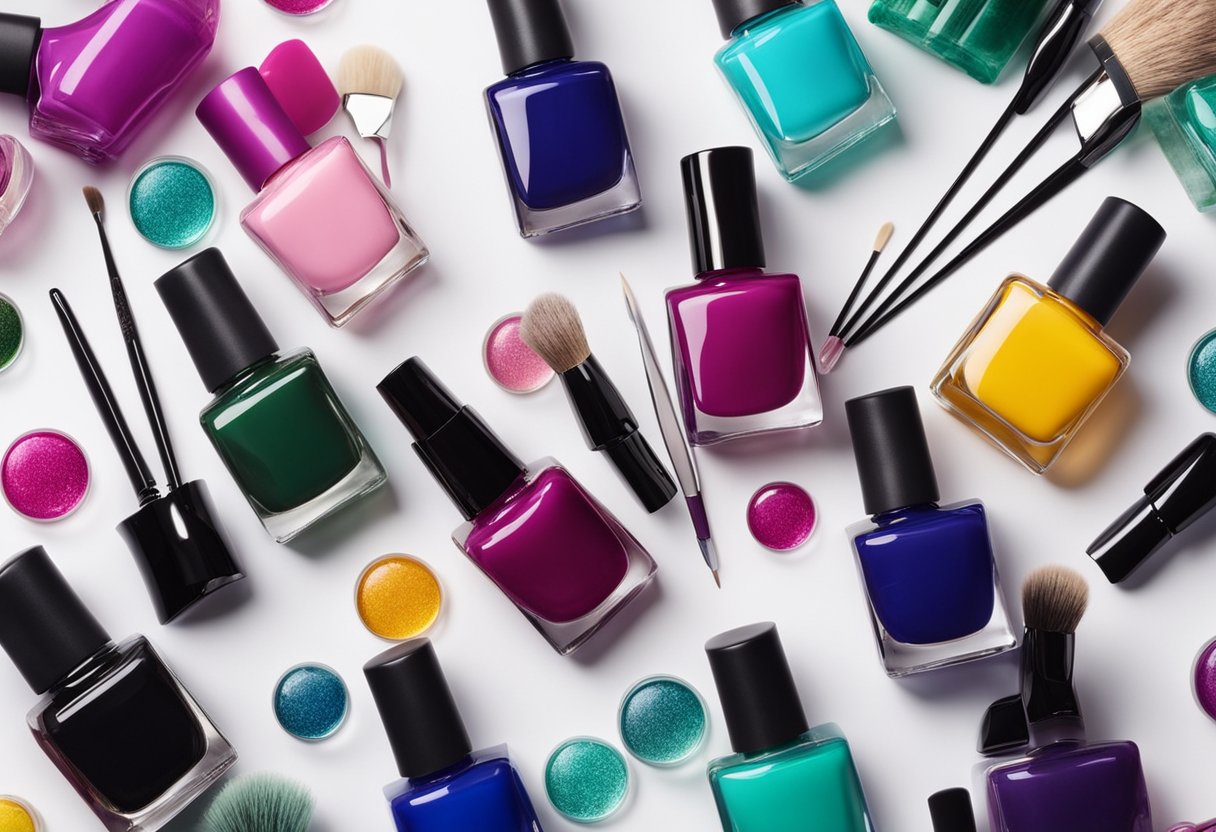
Nail Art Essentials
Before you begin creating nail art, having the right tools and materials is critical. Here are some of the essential items you will need:
- Nail polish: Choose a variety of colors to create different designs.
- Nail polish remover: Use this to clean up mistakes and remove old polish.
- Bobby pin or toothpick: These can create small dots or intricate designs.
- Fingernails: You will need fingernails to apply the nail polish too!
- Nail file: Use a nail file to shape and smooth your nails before applying polish.
- Nail clippers: Use nail clippers to trim your nails to the desired length.
Steps to Creating Nail Art
Now that you have your nail art essentials, it’s time to start creating! Here are the basic steps to creating nail art at home:
You can create beautiful, unique nail art designs at home with these basic steps and tools. Don’t be afraid to experiment with different colors and designs to find what works best for you!
Finding Inspiration for Nail Art Designs
Finding inspiration can be a challenge when creating nail art designs. However, there are many sources of inspiration out there that can help you create unique and beautiful designs. This section will explore some of the best ways to find inspiration for nail art designs.
Pinterest is one of the best places to find inspiration for nail art designs. Pinterest is a social media platform that allows users to create and share boards of images and ideas. You can search for nail art designs on Pinterest and find thousands of images that can inspire you. You can also create your board and save images that you like.
Another great way to find inspiration for nail art designs is to look at easy nail art designs. These designs are simple and easy to recreate, making them perfect for beginners. You can find easy nail art designs on websites and blogs that focus on nail art.
If you seek more unique and creative designs, you can also find inspiration in everyday objects. For example, you can create galaxy nails using a sponge to apply different shades of blue and purple nail polish. You can also create a floral design using a toothpick to draw flowers on your nails.
In conclusion, finding inspiration for nail art designs is easy if you know where to look. Pinterest, easy nail art designs, and everyday objects are just a few of the many sources of inspiration that can help you create beautiful and unique designs. With some creativity and imagination, you can create nail art designs that will impress you.
Mastering More Advanced Nail Art Techniques
Once you have mastered the basics of nail art, it’s time to take your skills to the next level with more advanced techniques. With the right tools, training, and tutorials, you can create stunning nail art designs that impress you.
One popular technique is ombre nail art, blending two or more colors to create a gradient effect. You will need a sponge applicator and two or more nail polish colors to achieve this look. First, apply a base coat and let it dry. Then, apply the lighter color to the sponge and dab it onto the nail. Repeat with the darker color, blending the two colors in the middle. Finish with a top coat for a smooth finish.
Another fun technique is rainbow nail art, which uses multiple colors to create a colorful and vibrant look. You can use a nail striping brush or a dotting tool to create stripes or dots of different colors on each nail. You can also use nail stickers or stencils to create more intricate designs.
To work with acrylic nails, you must receive proper training and education to use the materials safely and effectively. Many online tutorials and training courses help you master this technique.
Mastering more advanced nail art techniques requires patience, practice, and a willingness to learn. You can create beautiful, unique designs with the right tools and resources to showcase your creativity and style.
Leave a Reply